Little Pumpkin Crochet Pattern
About the pattern
Crochet Little Pumpkin Pattern
As the leaves begin to turn 🍂 and the crispness of fall settles in the air, there’s no better time to embrace the season’s spirit with a delightful crafting project. Introducing our crochet little pumpkin pattern 🎃 – a charming addition to any autumnal decor or as a heartfelt gift. Whether you’re a seasoned crocheter or just starting out, this pattern offers a simple yet rewarding experience.
Materials Needed for Your Crocheted Pumpkin
- Orange (pumpkin-colored) yarn, brown yarn for the stem
- Crochet hook suitable for the specified yarn
- Stuffing
- Large-eyed needle for sewing
Abbreviations (US terms)
ch – chain
sc – single crochet
inc – increase
dec – decrease
slst – slip stitch
Crochet Little Pumpkin Pattern

Pumpkin
with orange colour
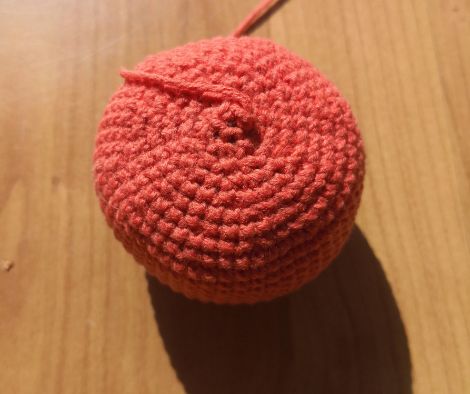
- Round 1 – 6 sc into a magic ring (6)
- Round 2 – 2 sc in each stitch (12)
- Round 3 – (1 sc, 1 increase) x6 (18)
- Round 4 – (2 sc, 1 increase) x6 (24)
- Round 5 – (3 sc, 1 increase) x6 (30)
- Round 6 – (4 sc, 1 increase) x6 (36)
- Round 7 – (5 sc, 1 increase) x6 (42)
- Round 8 – (6 sc, 1 increase) x6 (48)
- Round 9 – (7 sc, 1 increase) x6 (54)
10-20. Round – 54 sc
11. Round – (7 sc, 1 decrease) x6 (48)
12. Round – (6 sc, 1 decrease) x6 (42)
13. Round – (5 sc, 1 decrease) x6 (36)
14. Round – (4 sc, 1 decrease) x6 (30). Stuff it but not too tightly.
15. Round – (3 sc, 1 decrease) x6 (24)
16. Round – (2 sc, 1 decrease) x6 (18)
17. Round – (1 sc, 1 decrease) x6 (12)
18. Round – 6 decreases (6)
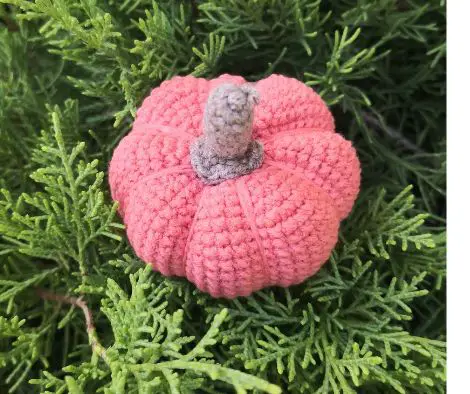
Tighten the stitches and sew the hole closed. Leave a long tail of yarn, which you will use to define the pumpkin’s ridges. Thread the tail through the needle and pass it to the bottom of the pumpkin. Insert the needle from the bottom to the top and pull the yarn tightly. Repeat on the opposite side. Now the pumpkin has been divided into two sections. Repeat the previous step to divide one section into two, creating four ridges in total. Now, divide each of the four sections in the same manner, resulting in eight ridges.
Crochet Pumpkin Stem
with brown colour
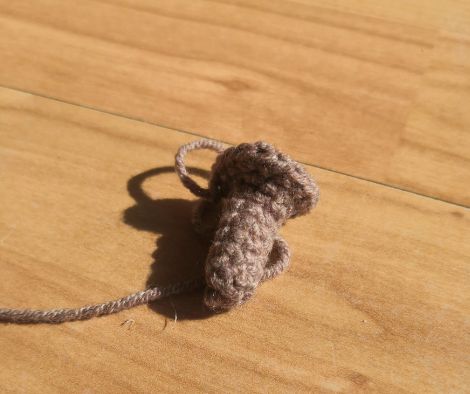
Round 1 – 6 sc into a magic ring
2-5. Round – 6 sc
6. Round – 2 sc in each stitch (12)
7. Round – (1 sc, 1 increase) x6 (18)
Sew the stem onto the pumpkin.


With the final stitches tied and the pumpkin’s shape taking form, you’ve now added a touch of handmade warmth to your autumn collection 🍁.
This crochet little pumpkin not only showcases your crafting skills but also embodies the heart of the fall season. We hope you enjoyed bringing this little treasure to life as much as we enjoyed creating the pattern for you. For more autumn-inspired patterns, check out our collection here.
Happy crocheting, and may your fall be filled with cozy moments and beautiful crafts! 🧡🧶
